Listing copy
Prepare a title, short description, section title, and item names for your menu.
This guide walks sellers through the full preorder setup: menu items, schedule, pickup or delivery, payment setup, and what to manage after publishing.
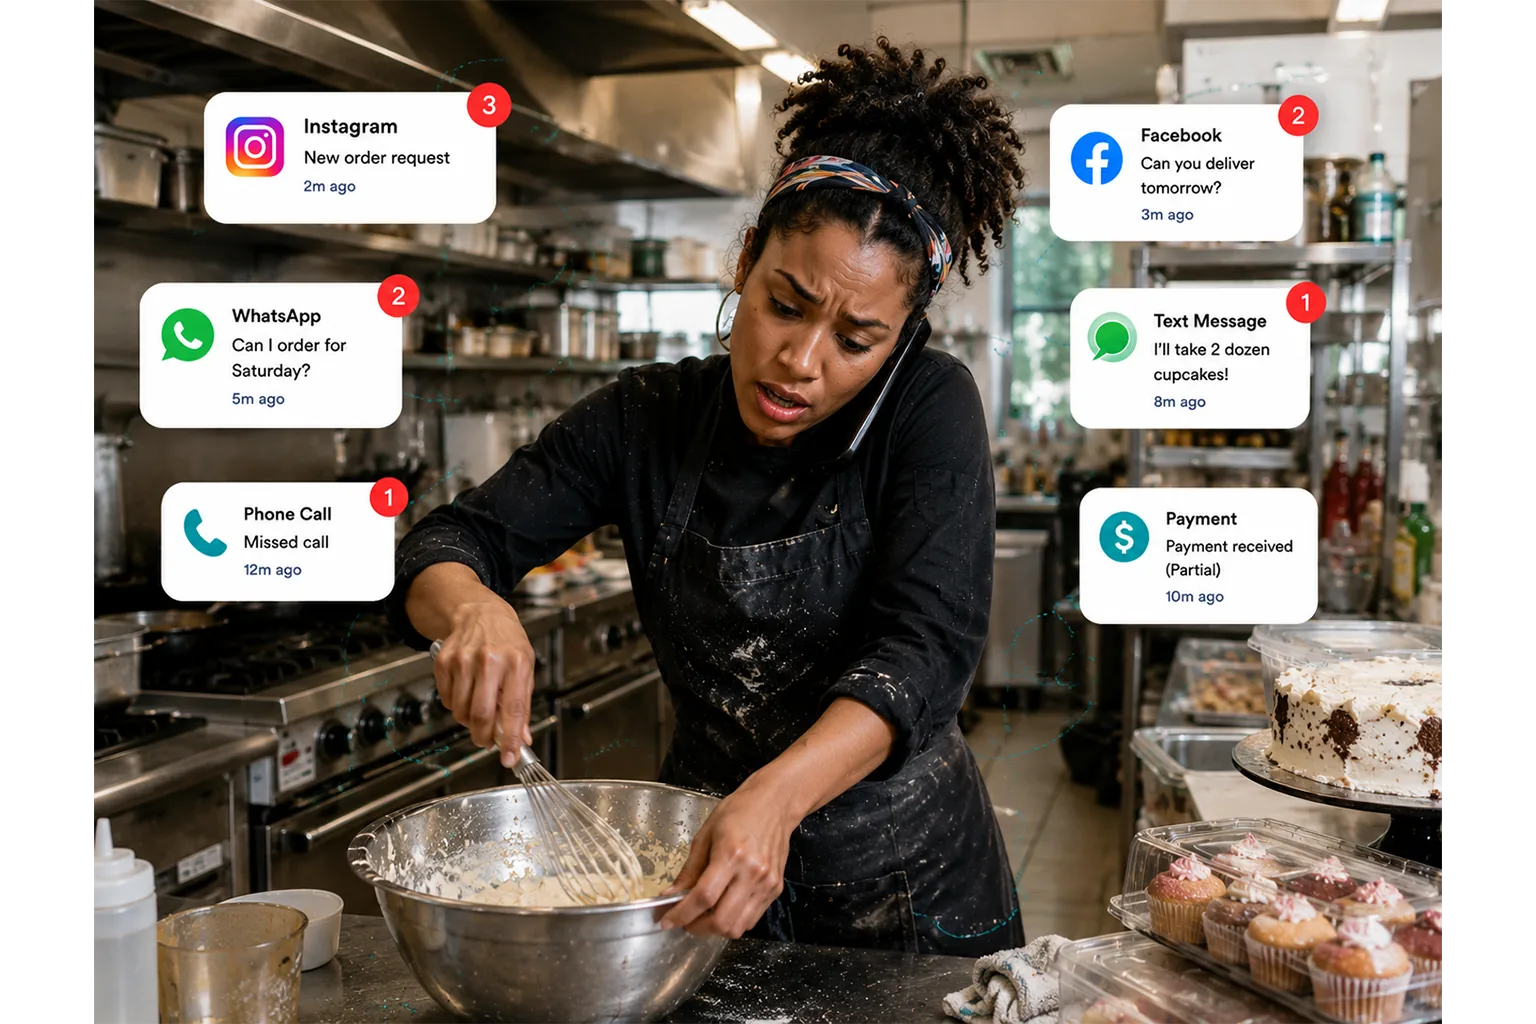
Gather the basics before building the listing so setup goes smoothly.
Prepare a title, short description, section title, and item names for your menu.
Use one strong listing photo and item-level images if you want buyers to browse visually.
Know when orders open, when they close, and exactly when buyers can pick up.
If you want online checkout, connect your payout account in Earnings & Payouts first.
Click Create New Listing, then choose Preorder. This opens the seller flow that is built for menu items, pickup scheduling, delivery options, and preorder payments.
In the Details step, add the listing title, description, menu section title, and each item row you want buyers to order from.
Juices & Wellness Shots or Weekend MenuStarting at PriceGood first-run approach
Keep the first listing simple. Start with 4 to 7 items, use clear names and pricing, and avoid too many custom options until you know what buyers order most.
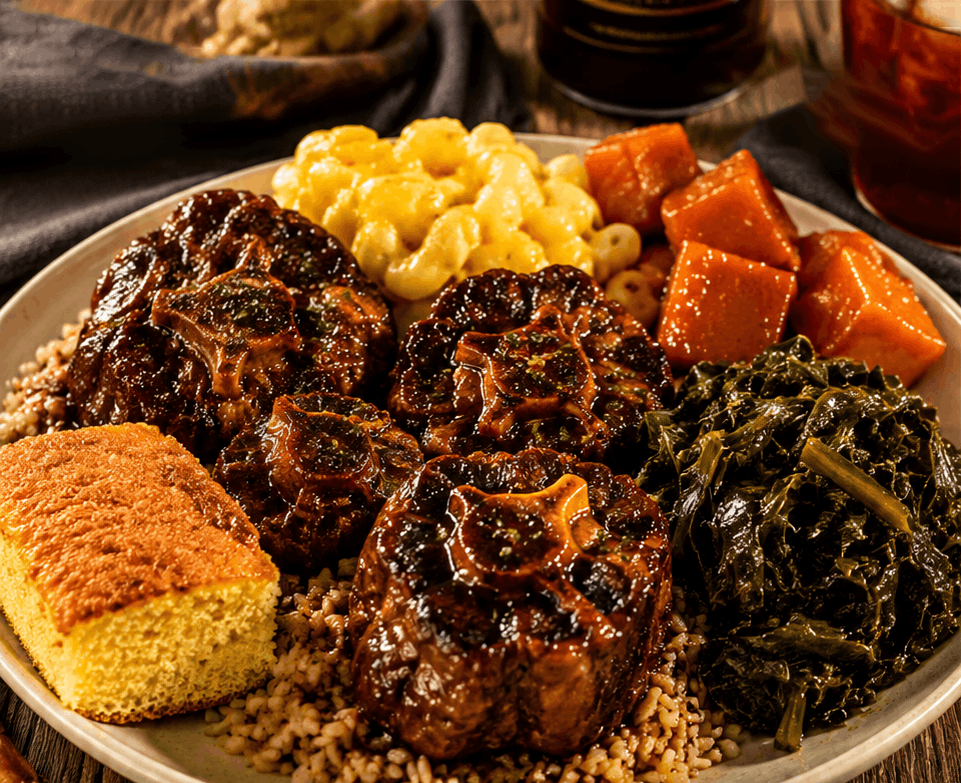
Example: one listing can include individual items, bundles, and optional add-ons in the same preorder menu.
Use the Schedule step to decide when buyers can request pickup times and how far in advance they must order.
30 minutes.Example weekly cycle
Open orders Monday, close Thursday at 6:00 PM, and run pickup on Saturday from 10:00 AM to 1:00 PM. A setup close to that example is:
30 minute slots, 43 hours lead time, a 7 day booking window, and Saturday weekly hours of 10:00 AM–1:00 PM.
In the fulfillment step, decide whether buyers can request pickup, meetup, local delivery, or a mix of those options.
Best for a first run if you want the simplest handoff flow.
Useful if you want to meet in a public place instead of offering pickup from your address.
Set a radius, choose fixed or per-mile pricing, and optionally require a minimum order for delivery.
Recommended first run
Start with one main pickup option, then add delivery after you understand order volume, timing, and which neighborhoods request handoff most often.
If you want buyers to check out online, enable payment setup in the Details step and connect your payout account through Stripe.
No depositFixed amountPercentageFull paymentGood rule of thumb
Use full payment for made-to-order items when you want to reduce no-shows. Use a deposit for higher-ticket or custom orders if you want a softer first checkout experience.

ListItNGo uses Stripe for secure online preorder checkout and seller payouts.
After publishing, you can edit the same preorder listing each week instead of creating a new one every time.
Important note
Completed orders are released to your connected Stripe payout account based on your payout schedule, so the seller dashboard is the best place to monitor available and pending funds.
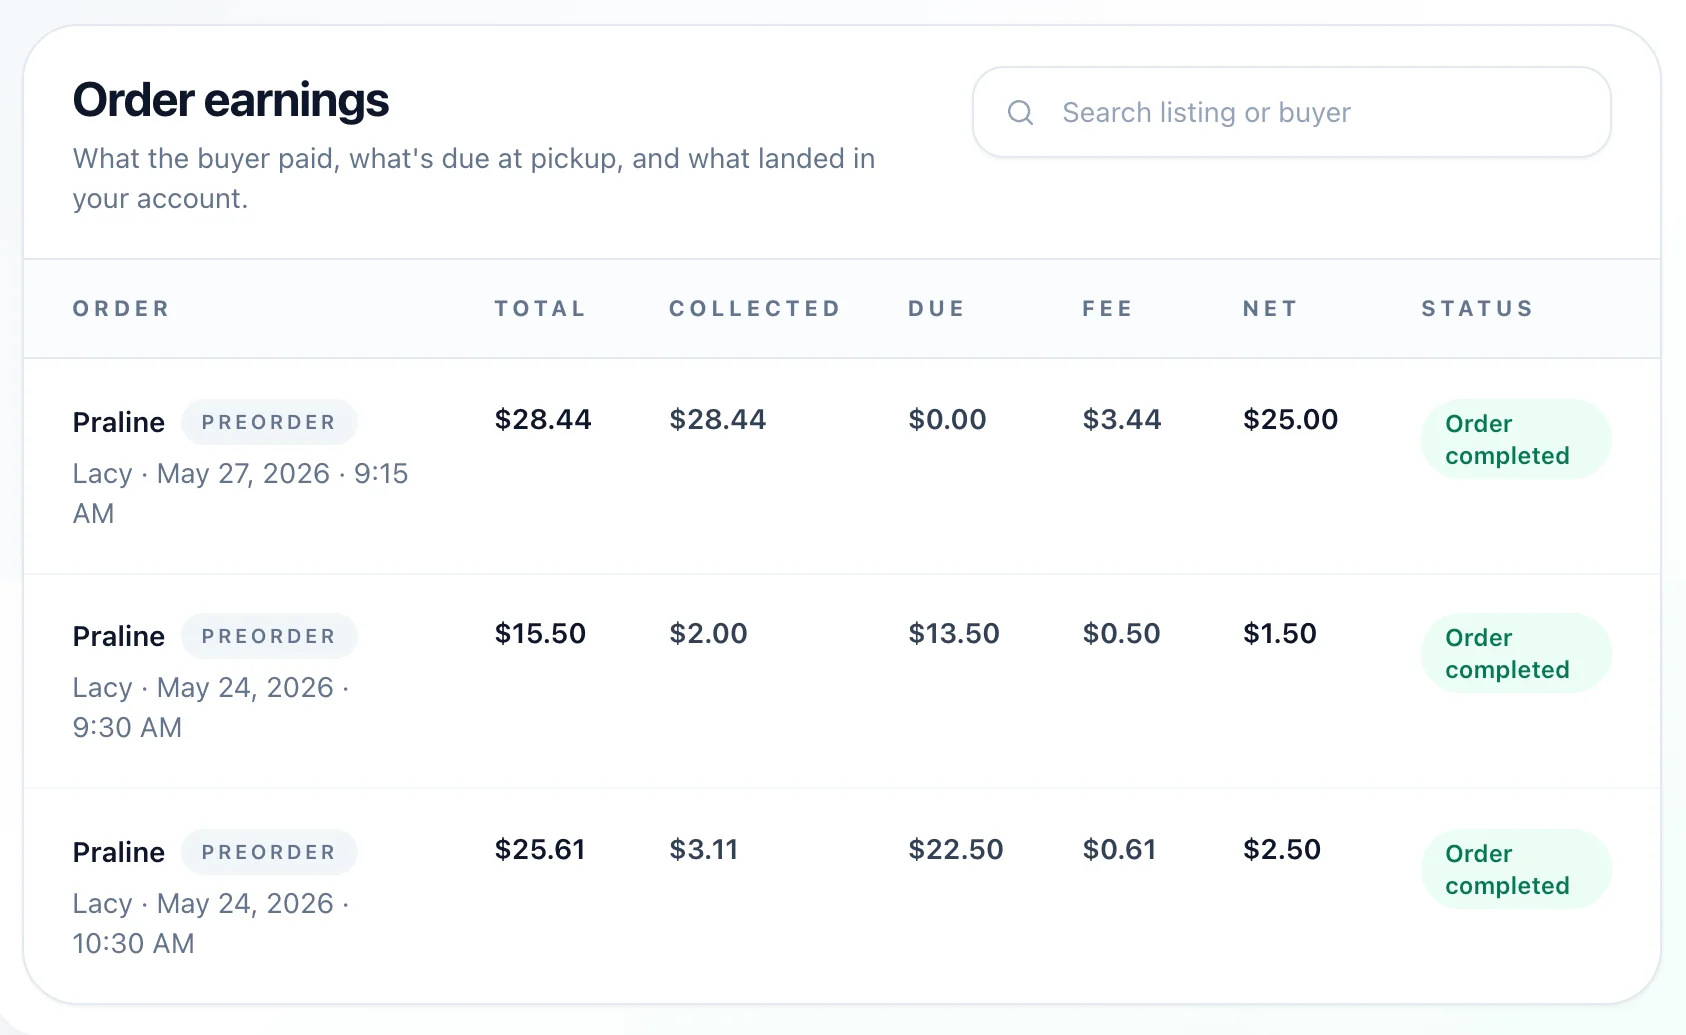
Start with 4 to 7 items so setup and fulfillment stay manageable.
Tell buyers exactly when to arrive, where to go, and what to expect at handoff.
Choose availability you can consistently keep before adding more pickup days or delivery areas.
Use your first few runs to learn which items, bundles, and price points get the most response.